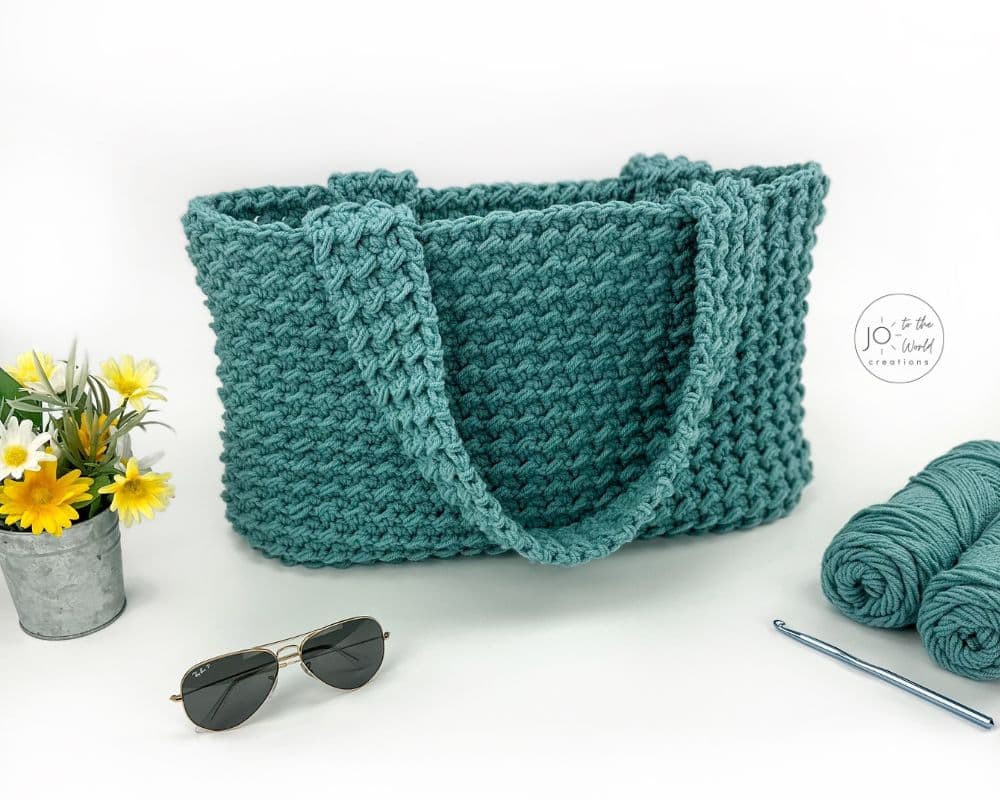
Materials:
- Yarn:
- Choose a durable and appropriate yarn for a bag. Cotton or a blend with cotton works well as it provides strength.
- Consider the weight of the yarn based on your desired bag size. Worsted weight is a good starting point.
- Knitting Needles:
- Choose needles appropriate for your yarn. Check the yarn label for the recommended needle size.
- Pattern:
- Decide on a simple bag pattern. For beginners, a basic rectangular or square shape is recommended.
- Notions:
- Stitch markers
- Tapestry needle for weaving in ends
- Scissors
- Optional: buttons, zippers, or other closures
Steps:
- Choose a Pattern:
- Select a basic pattern that suits your skill level. A simple pattern for beginners might involve basic knit and purl stitches.
- Measurements:
- Determine the size of the bag you want. Consider the length, width, and depth. Keep in mind that the bag will stretch when filled.
- Gauge Swatch:
- Knit a gauge swatch to determine how many stitches and rows you knit per inch. This helps ensure your bag turns out the right size.
- Cast On:
- Cast on the number of stitches required for the width of your bag. Use the gauge information to estimate the total number of stitches needed.
- Knit the Body:
- Follow the pattern to knit the body of the bag. This may involve knitting in a specific stitch pattern or simply knitting every row for a basic stockinette stitch.
- Shape the Bag:
- If you want a rectangular bag, simply knit until the piece is as long as you want. For a square bag, knit until the piece is square.
1. Bind Off:
- Bind off the stitches when the bag has reached your desired length.
- Seaming:
- Fold the knitted piece in half with the wrong sides together. Seam the sides and bottom using a tapestry needle and the mattress stitch or another suitable seam.
- Handles:
- Decide on the handle style. You can knit straps separately and sew them on or create handles directly by leaving openings in the bag and knitting those sections separately.
- Finishing:
- Weave in any loose ends and block the bag if necessary to shape it and even out the stitches.
- Optional Embellishments:
- Add buttons, zippers, or other closures if desired.
